
 Profile
 Dashboard
 Logout

Table of contents
Key takeaways
- Randomly assign every eligible visitor to a no video control or a shoppable video variant.
- Track the full path from exposure to completed order.
- Separate attributed sales from experimentally measured lift.
How to run a fair shoppable video test
Randomly assign every eligible visitor to a no video control or a shoppable video variant. Keep that assignment fixed.
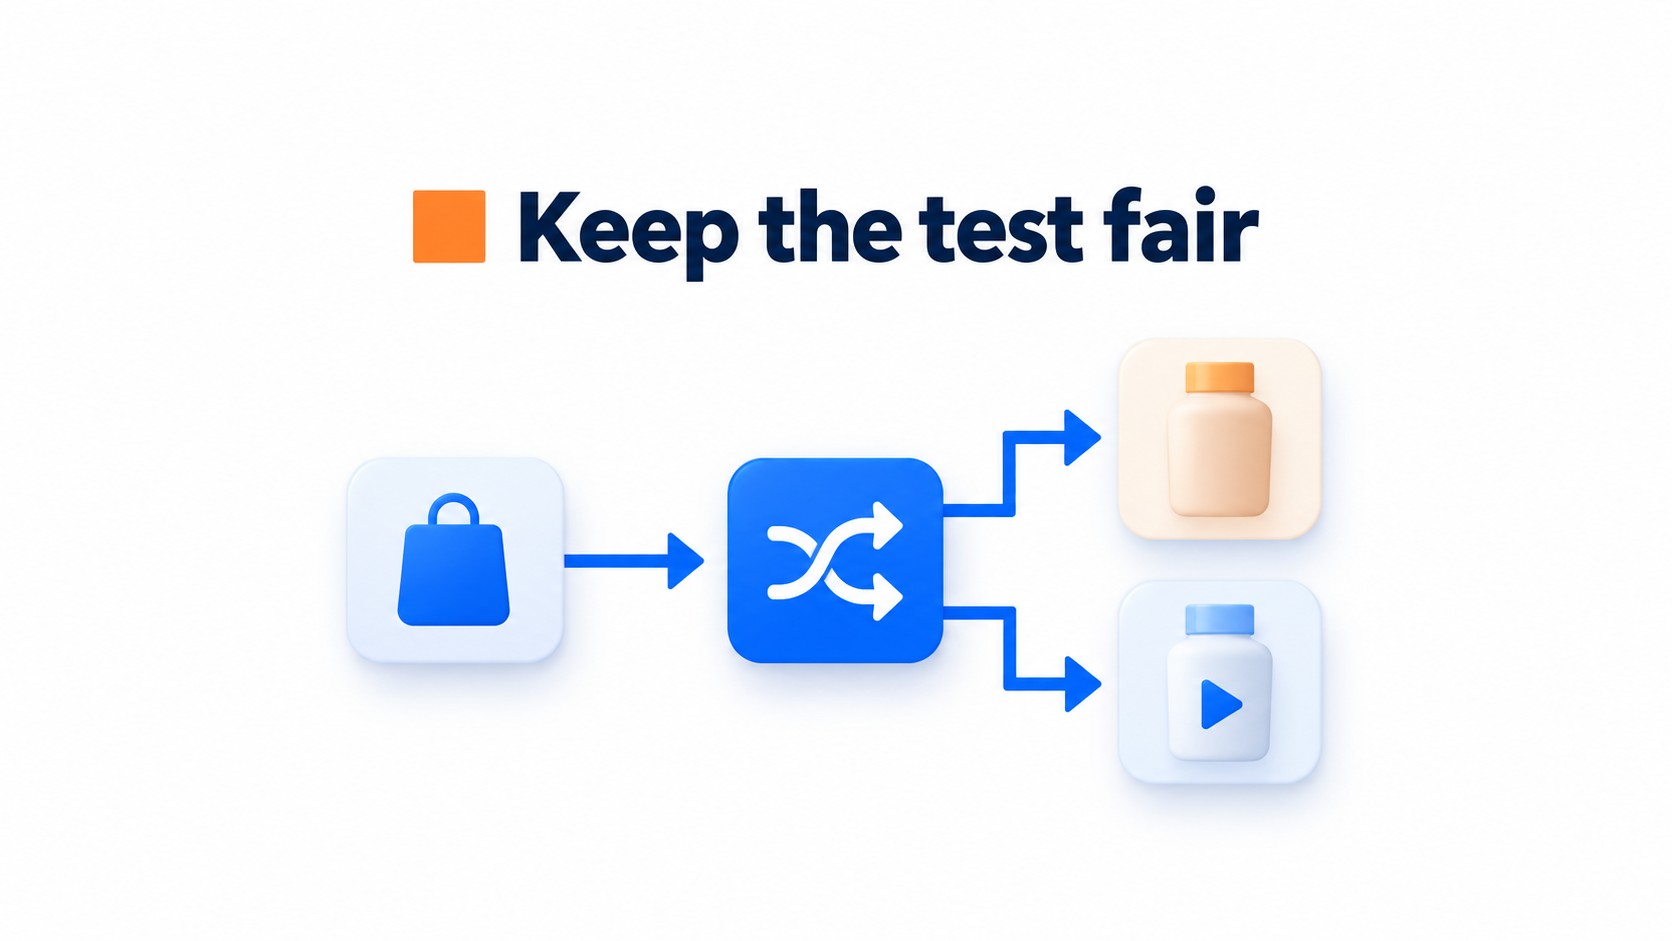

Set a baseline before launch with the same measures you’ll use during the test. Keep eligibility rules consistent and run both groups over the same dates. A sale or traffic shift shouldn’t affect one group more than the other.
Returning visitors can land in a different group if the assignment isn’t saved. Use a persistent visitor ID or first party cookie to keep each visitor’s version consistent.
Comparing two video versions? Change one element at a time, such as the opening frame or product tags. Otherwise, the result won’t show which change mattered.
Report results for everyone assigned to each group, not only the people who watched. Viewers chose to engage, so comparing them with all control visitors can make the video look more effective than it was.
Which results should you track?
Track the full path from exposure to completed order. Start with impressions and qualified views, and use the same definition of a qualified view throughout the test.

A high view rate can hide a weak sales result.
Next, measure product card clicks, add to cart actions, checkout starts, and completed purchases. Record revenue per visitor and average order value as well. Returns take longer to appear, so check the return rate after your usual return window closes.
Compare each measure with the baseline and between test groups. Use the same eligible visitor denominator and matching dates.
Report counts alongside rates; a small group can make a rate swing look larger than it is. Test the add to cart event yourself in a clean session and confirm that one action records once. A spike in views is useful context, not evidence of a sales lift.
How can you tell whether video caused the lift?
Randomly assign eligible visitors to a no video holdout and a video group, then compare outcomes across everyone assigned. The gap estimates incremental impact.

People who choose to watch may already have stronger purchase intent. Comparing viewers with nonviewers can credit the video for intent that existed before playback. That’s selection bias.
Click through attribution credits a purchase after a click. View through attribution credits a later purchase after exposure without a click. Neither establishes causation. A properly randomized holdout can help estimate causal impact, with statistical uncertainty.
Keep attribution labels separate in the report.
With the holdout set, test one change at a time: creative, opening frame, call to action, product tags, placement, or player format. Pick one. Changing the carousel to a floating player while swapping the opening frame leaves no clean answer about what mattered.
Keep the same visitor assignment on return visits, or people can land in both groups and muddy the comparison. Check the assignment cookie.
What should you check before launch?
Check assignment, product data, playback, and page performance on the actual store. Inconsistent visitor assignment can muddy every result.
Keep each eligible visitor in the same group on later visits. Confirm that the control sees no video and the variant sees the intended version. Product cards should point to the right catalog items, with selected sizes or colors matching the variant shown on the product page. A stale variant link can send shoppers to the wrong option.
Test playback on a phone and desktop, including over a slow connection. Look for a blank player, missing product cards, or video that starts without usable controls. Then compare page speed and Core Web Vitals before and after enabling the widget.
Check on a throttled connection, too. A video that works on office Wi Fi can still stall on mobile data.
How long should the test run?
Run the test long enough to include normal traffic and purchase patterns. Don’t stop as soon as one version looks ahead. There’s no universal number of days; vendor benchmarks describe specific stores and methods, not an expectation for every shop.
What should count as the control?
Use the same page and eligible audience without video. Keep other changes out of the test.
How should results be read?
Compare outcomes across everyone assigned, not only people who watched. Treat a vendor benchmark as context, then judge the result against the store’s own baseline and downstream purchases.
A shoppable video test is useful only when the comparison separates the video’s effect from differences in audience or timing. These measures connect the test setup to outcomes across the purchase funnel.
Calculate results for the full test audience
Visitor conversion rate = visitors who placed an order ÷ eligible visitors × 100. Incremental lift = (variant conversion rate minus control conversion rate) ÷ control conversion rate × 100, provided the control rate is greater than zero.
Revenue per visitor = total purchase revenue from each assigned group ÷ eligible visitors in that group. Use the same revenue definition and measurement window for both groups, including purchases without a video interaction.
Compare eligible visitors, not just people who watched.
Check the setup before launch
- Randomly assign eligible visitors to a no video control or a video variant.
- Keep audience rules and test dates consistent.
- Verify product tags, variant details, playback, and page load time.
- Track product clicks, add to cart actions, checkout starts, orders, revenue per visitor, average order value, and returns.
A no video control helps account for the fact that people who choose to watch may already be more likely to buy. Record the control rate before launch, and use the same attribution window for both groups.
Common questions
What should the control group be in a shoppable video test?
A fair control is eligible visitors who see no video, randomly assigned alongside visitors who see the shoppable video. Keep eligibility rules and test dates comparable, then compare outcomes across everyone assigned to each group, not just people who watched. That avoids giving the video group an advantage by counting only visitors who already chose to engage.
How long should an A B test for shoppable videos run?
There isn’t one fixed test length; it depends on traffic and how long it takes to collect enough comparable visitor data. Whatmore’s 2026 benchmark report describes tests lasting 30 to 165 days, but those are vendor reported durations, not a universal target. Keep the test period and audience eligibility consistent, and don’t treat a benchmark as a promised result.
Which metrics should I track when testing shoppable videos?
Track the whole funnel, not only video views: impressions, qualified views, product card clicks, add to cart actions, checkout starts, conversions, revenue per visitor, average order value, and returns. Compare each result with the baseline and between assigned test groups. A rise in views alone doesn’t show that the video increased sales or revenue.
How can I tell whether a shoppable video caused more conversions?
Use a randomized no video holdout where possible, then compare conversion results for everyone assigned to each group. People who choose to watch may already be more likely to buy, so viewer only results can overstate the video’s effect. Label attribution clearly as click through, view through, or experimentally measured; these describe different kinds of evidence.
What should I check before launching a shoppable video test?
Confirm that visitor assignment works, product catalog and variant details stay synchronized, and the video plays without errors. Check load time and Core Web Vitals too, since a test should not ignore changes to page performance. Set a baseline before launch and keep eligibility rules consistent. Test creative, opening frame, call to action, product tags, placement, and player format as separate variables where possible.